DESCRIPTION
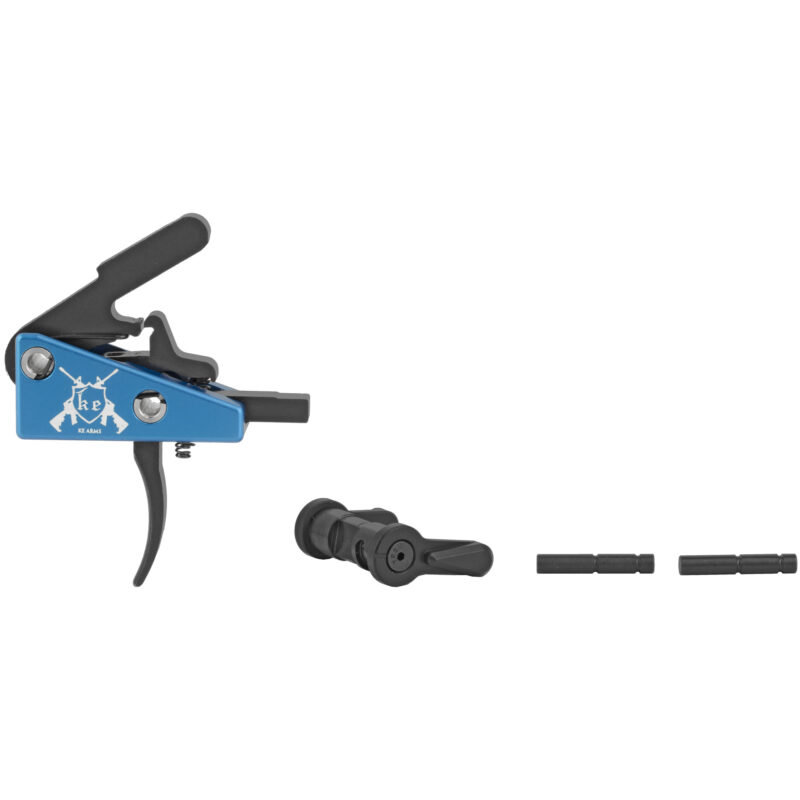
– 4.5 LBS adjustable reset
– Minimal takeup, overtravel and reset
– Precision EDM wired from A2 tool steel
– Melonite coated (Ferritic Nitrocarb)
– Simple drop-in installation
TRIGGER INSTALLATION INSTRUCTIONS
The DMR trigger is designed to be compatible with a mil-spec lower. Make sure your lower is machined to mil-spec tolerances using the diagram in the photo gallery above.
DMR Gen 2 Install Instructions
DMR Gen 2 triggers use the same D-Clips in the bushings to capture mil-spec fire control pins as our SLT-1 Trigger.
INSTALLATION INSTRUCTIONS FOR GUNSMITHS AND ARMORERS*
**ENSURE FIREARM IS UNLOADED**
1. INSERT DMR TRIGGER INTO LOWER.
2. INSTALL SELECTOR INTO SELECTOR HOLE. INSTALL SELECTOR DETENT AND SPRING, ATTACH PISTOL GRIP.
3. INSERT HAMMER AND TRIGGER PINS. FROM THE RIGHT SIDE OF THE RECEIVER SO THE NOTCHES IN THE PINS CATCH IN THE D-CLIPS IN THE LEFT SIDE OF THE HOUSING.
4. ADJUST TENSION SCREW UNTIL DESIRED RESET IS ACHIEVED.*
5. FUNCTION TEST RESET AND SAFETY BEFORE LIVE FIRE.
6. RE-CHECK TENSION OF ALL SCREWS DURING REGULAR MAINTENANCE INTERVALS.
7. CLEAN ENGAGEMENT SURFACES AND REMOVE DEBRIS FROM TRIGGER COMPONENTS DURING MAINTENANCE
*GUNSMITH INSTALLATION AND ADJUSTMENT IS RECOMMENDED
DMR Gen 1 Install Instructions
These instructions are for DMR Gen 1 Triggers that use tensioning screws for installation.
For instructions and downloadable image visit the Trigger Install Page.

Reviews
There are no reviews yet.